Mewayz (Formerly Seemless) Setup Guide
Complete guide to install, configure, and launch Mewayz (Formerly Seemless) easily.
- 1. Welcome
- 2. License
- 3. Server Requirements
- 3.1 Requirement
- 3.2 Required PHP Extensions
- 3.3 Web Server Configuration
- 4. Database Setup
- 4.1 Useful resource
- 5. File Upload
- 6. SSL Certificate Setup
- 6.1 Using Let’s Encrypt (Free)
- 6.2 Using Cloudflare (Recommended)
- 7. Installation Wizard
- 7.1 Welcome to Installation
- 7.2 System Requirements
- 7.3 File Permissions
- 7.4 Environment Configuration
- 7.5 Database Setup
- 7.6 Add-On Installation
- 7.7 Installation Complete
- 8. Post-Installation
- 9. Troubleshooting
- 9.1 Common Issues
- 10. Security Recommendations
- 11. Frontend Customization
- 11.1 Installation Complete!
1. Welcome
This documentation file will guide you through the installation and configuration of the product.
While the installation process is rather simple, some of the instructions presented here will require a minimum understanding of working with databases and managing files on a server.
If you’re not familiar with the following steps, feel free to reach out to our support
2. License
- ### Regular License
Use, by you or one client, in a single end product that end users are not charged for. The total price includes the item price and a buyer’s fee.
- ### Extended License
Use, by you or one client, in a single end product that end users can be charged for. The total price includes the item price and a buyer’s fee.
- Please purchase an Extended License if you are going to sell as a service. Envato License Policy
3. Server Requirements
Built on “PHP 8.3.*” with the following minimum requirements:
3.1 Requirement
- PHP: >= 8.3.*
- MySQL: >= 8.0
- Node.js: >= 20.x
- Composer: >= 2.*
- Memory: >= 4GB RAM
- Storage: >= 9GB
- Web Server: Apache/Nginx
- SSL Certificate: Any Valid
3.2 Required PHP Extensions
- BCMath PHP Extension
- Ctype PHP Extension
- Fileinfo PHP Extension
- JSON PHP Extension
- Mbstring PHP Extension
- OpenSSL PHP Extension
- PDO PHP Extension
- Tokenizer PHP Extension
- XML PHP Extension
- GD PHP Extension
- Curl PHP Extension
- Zip PHP Extension
Note: The installer will automatically check if your server meets these requirements.
Note: The stable version of Node & npm must be installed on your server. Additionally, running the command npm run build run build is required on your server.
On your server terminal access is significant for the run command.
3.3 Web Server Configuration
Below, you’ll see the two options that you need to follow based on your server requirements.
- #### 3.3.1 Apache (Default)
No additional configuration needed if using Apache with .htaccess support.
- #### 3.3.2 Nginx Server Setup
Switching from an Apache server to an Nginx server for a Laravel project involves a few configuration changes. Here are the key steps:
- Make sure Nginx is installed on your server. Replace your Apache configuration with Nginx configuration.
- Create a new Nginx server block configuration file. This is often located in /etc/nginx/sites-available/.
- ```
server { listen 80; server_name yourdomain.com www.yourdomain.com; root /path/to/your/project; index index.php index.html;
# Security headers add_header X-Frame-Options "SAMEORIGIN" always; add_header X-XSS-Protection "1; mode=block" always; add_header X-Content-Type-Options "nosniff" always;
location / { try_files $uri $uri/ /index.php?$query_string; }
location ~ \.php$ { include snippets/fastcgi-php.conf; fastcgi_pass unix:/var/run/php/php8.3-fmp.sock; fastcgi_param SCRIPT_FILENAME $document_root$fastcgi_script_name; include fastcgi_params; }
location ~ /\.ht { deny all; }
# Cache static assets location ~* \.(css|js|png|webp|jpg|jpeg|gif|ico|woff|woff2|ttf|svg|pdf|doc|docx|xls|xlsx|xlsm|xlsb|xltx|xltm|xla|xlam|csv|zip|mp4|mp3)$ { expires 1y; add_header Cache-Control "public, immutable"; log_not_found off; access_log off; }
# Handle public assets location ~* ^/public/(css|assets|storage|installer|js|vendor|build|packages)/(.*)$ { try_files $uri $uri/ =404; }
error_log /var/log/nginx/yourdomain_error.log; access_log /var/log/nginx/yourdomain_access.log; } ```
- Be sure to replace your_domain.com with your actual domain and adjust paths accordingly. After making these changes, restart Nginx to apply the new configurations.
Enable the site:
- sudo ln -s /etc/nginx/sites-available/yourdomain /etc/nginx/sites-enabled/
- sudo nginx -t
- sudo systemctl reload nginx
4. Database Setup
Step 1: Create Database
Create a new “empty database” using your hosting control panel.
Step 2: Create Database User
- Create a new database user
- Assign “full permissions” to the database
- Note down the credentials for installation
4.1 Useful resource
cPanel – MySQL Database Wizard
Plesk – Website databases
Below are the reference screenshots you’ll need to follow in order to set up your database.
Now you need to create a new user. On the same page go to Create a New Database user
Now add the user to the database
Select full database permissions for that user
5. File Upload
Step 1: Show Hidden Files
Enable viewing of “hidden files” in your file manager (dotfiles like .env are hidden by default).
Step 2: Upload Files
Upload contents of the main_file folder to your domain’s web root directory:
public_html(most common)htmlwwwyourdomain.com
6. SSL Certificate Setup
6.1 Using Let’s Encrypt (Free)
- #### 6.1.1 Install Certbot
sudo apt install certbot python3-certbot-nginx
#### 6.1.2 Get SSL certificate
9.2 Get SSL certificate Update nameservers
#### 6.1.3 Auto-renewal
sudo crontab -e
Add: 0 12 * * * /usr/bin/certbot renew –quiet
6.2 Using Cloudflare (Recommended)
- Add your domain to Cloudflare
- Update nameservers
- Enable SSL/TLS encryption
- Set SSL mode to “Full (strict)”
7. Installation Wizard
7.1 Welcometo installation
- To start the installation wizard, please visit:
- yourdomain.com/install
- Now you should see the installer. In the welcome screen. Hit the “start installation” button.
7.2 System Requirements
If your server meets all the required specifications, proceed to the next step. Otherwise, install extensions and proceed to next.
7.3 File Permissions
Below the screenshot you’ll see the some file permissions if your system have that, then click next to proceed.
If your system doesn’t have the permission run below the list command:
- sudo chmod 755 storage
- sudo chmod 755 bootstrap/cache
- sudo chown -R www-data:www-data storage bootstrap/cache
7.4 Environment Configuration
- Fill in your application and database details:
- Application Name – Your application name
- Application URL – Your domain URL
- Timezone – Select your timezone from the dropdown
- Database Connection – MySQL (or your database type)
- Database Host – Usually 127.0.0.1
- Database Port – Usually 3306
- Database Username – Your database username
- Database Password – Your database password
- Database Name – Your database name
- Verify all information is correct and click Next
7.5 Database Setup
- The installer will create database tables and seed initial data. This includes migrations, default roles and permissions, and system settings.
- Click Setup Database and wait for completion.
7.6 Add-On Installation
The installer will install available complimentary Add-Ons:
- Product & Service
- Project
- Accounting
- CMS
- CRM
- HRM
- POS
- Stripe
- Paypal
One click to start installation automatically for all add-ons. The process will show real-time progress for each module.
7.7 Installation Complete
Your application has been successfully installed. Default login credentials are:
- Admin Account:
Email: [email protected]
Password: 1234
- Company Account:
Email: [email protected]
Password: 1234
- Important: Change these passwords immediately after login and delete the installer files from your server.
- Click Go to Mewayz (Formerly Seemless)board to access your application.
8. Post-Installation
- Change all default passwords
- Delete installer files from the server
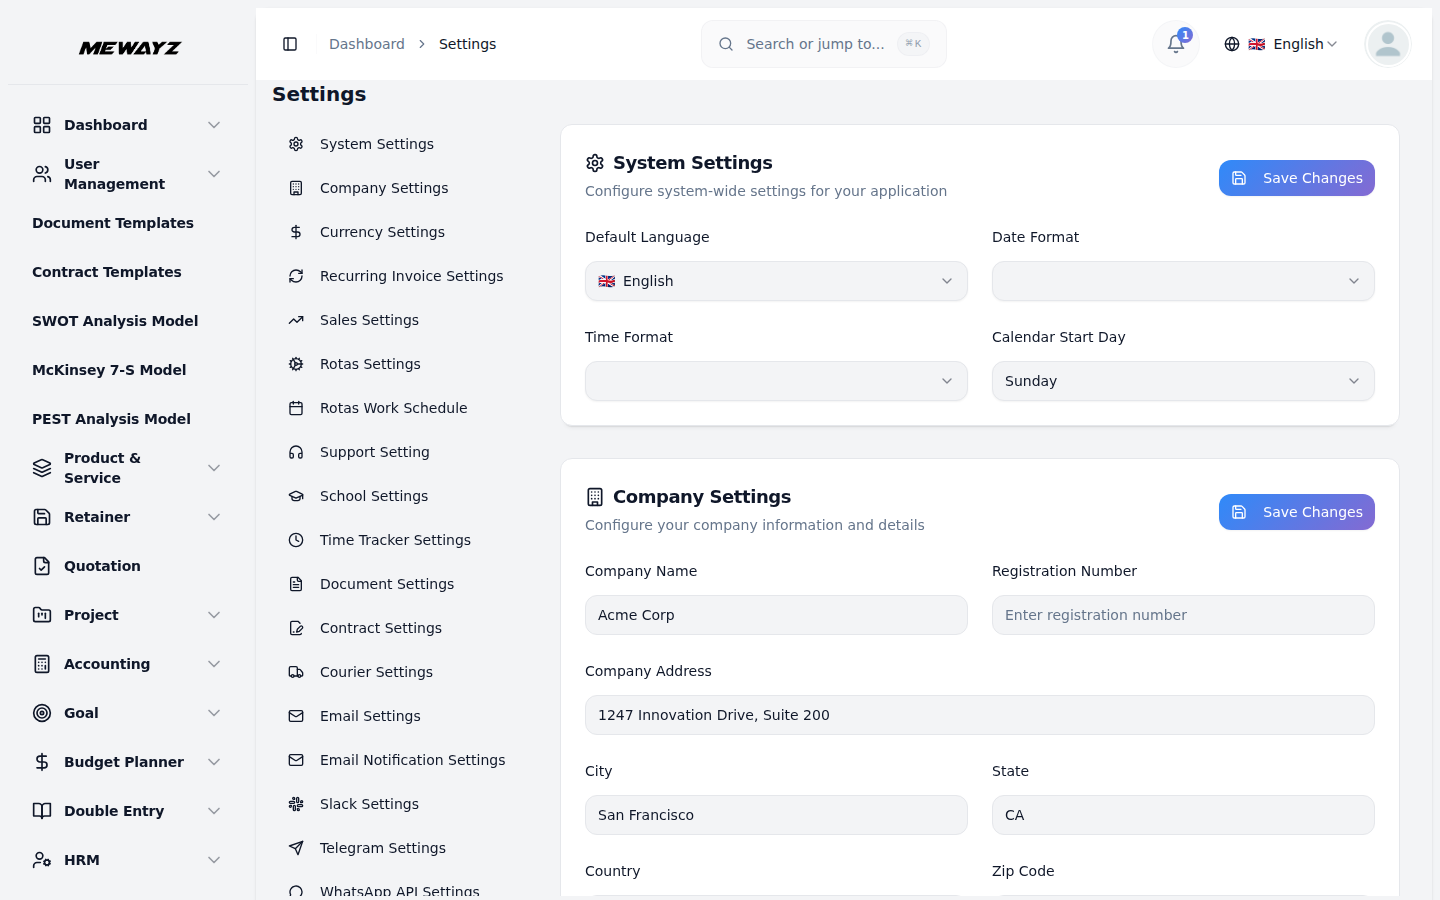
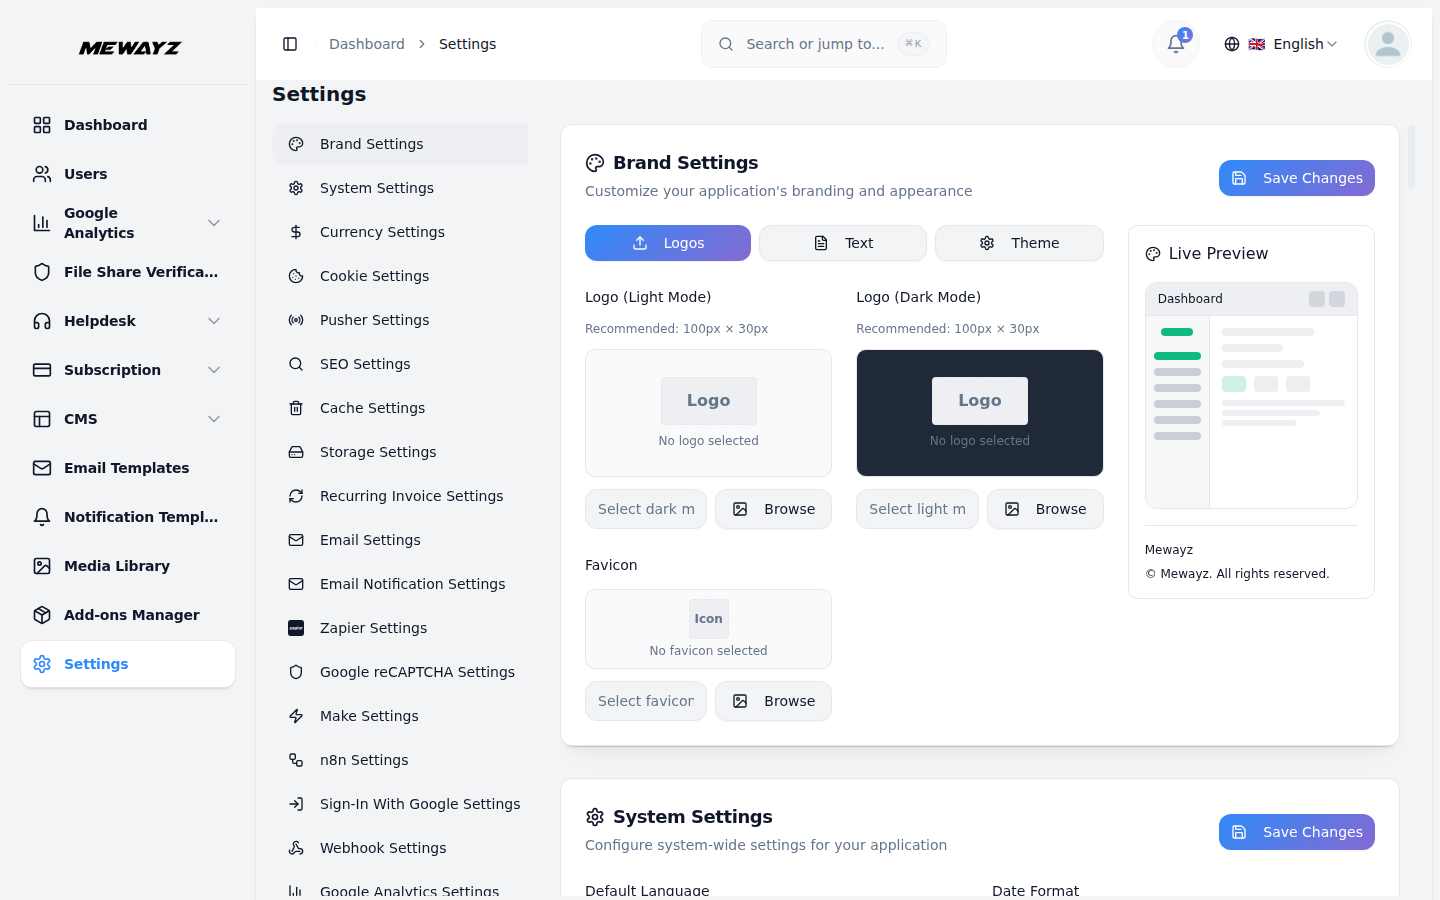
- Configure application settings
- Set up email configuration
9. Troubleshooting
9.1 Common Issues:
- #### 9.1.1 Installation wizard not loading
- Check file permissions
- Verify web server configuration
- Check PHP version and extensions
- #### 9.1.2 Database connection failed
- Verify database credentials
- Ensure database exists and is empty
- Check database user permissions
- #### 9.1.3 500 Internal Server Error
- Check server error logs
- Verify file permissions
- Ensure all PHP extensions are installed
- #### 9.1.4 Assets not loading
- Check web server configuration
- Verify public directory setup
- Clear browser cache
- If images or assets are loading improperly, run the following command: php artisan storage:link
- #### 9.1.5 Email not sending
- Verify SMTP credentials
- Check firewall blocking port 587
- Test with different email provider
- #### 9.1.6 Getting Help
Contact our support team with:
- Error messages and logs
- Server configuration details
- Steps to reproduce the issue
- Screenshots of error pages
10. Security Recommendations
- Use strong passwords for all accounts
- Keep the application updated
- Regular database backups
- Enable SSL/HTTPS
- Use secure hosting environment
- Monitor access logs regularly
11. Frontend Customization
Customize the application’s UI/UX by modifying React components located in resources/js/ directory. Edit components, pages, and layouts as needed, then rebuild assets using npm run build for production or npm run dev for development with hot reload.
Important: Always run npm run build after making frontend changes for production.
11.1 Installation Complete!
Your Web application is now ready to use. Access the admin panel to configure settings and start creating digital business cards.
Support: For technical assistance, please contact our support team with detailed error information.
Take your business to the next level with great website!
Feel Free To Reach Out to Discuss Your Next Web Development Project.
First Name *
Last Name
Email Address *
Phone Number
More Details