User Management, Roles & Permissions Guide
Learn how to manage users, roles, and permissions with easy configuration steps.
In the product
Setting Up Multiple Users and Roles on the Platform: A Step-by-Step Guide
User Management:
If you’re looking to streamline operations on the platform and manage multiple users, follow these straightforward steps:
Login:
- Log in to your account.
- On the left navigation bar, you’ll spot the “User Management” option.
User Roles:
- Navigate to the User Management section.
- Here, you’ll find options to manage users and roles.
- To create users and assign roles (permissions), your first step is to set up a role.
Role Setup:
- Click on the “Role” option.
- You’ll see a list of existing roles and their assigned permissions.
- To tweak existing roles, simply click on the edit icon. (Edit Icon)
- Deleting a role is as easy as clicking on the delete icon. (Delete Icon)
Creating a New Role:
- Now, to set up a new role, click on the add icon. (Add Icon)
- Input the desired role name.
- Select the main module for which this role is intended.
- Set the permissions specific to this role.
That’s it! With these steps, you’ve successfully birthed a new role equipped with tailored permissions.
Managing Users:
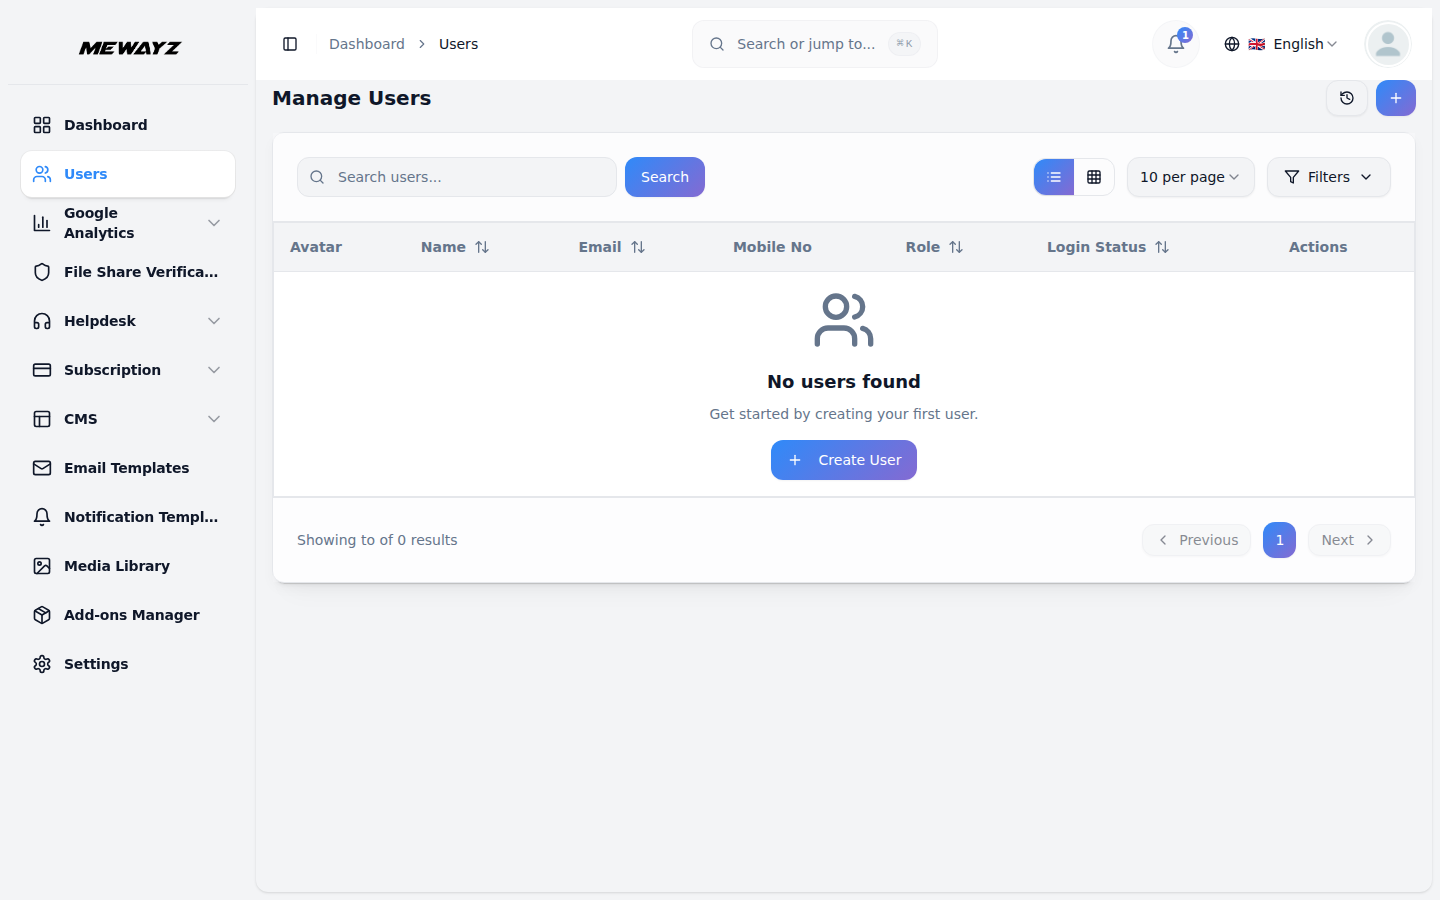
- Click on the “User” option.
- A list of existing users will be displayed.
- To add a new user, click on the add icon (Add Icon).
- Input the user’s details: name, and email address, and select the role you want to assign.
- Include any additional required information.
On the users’ screen, you can perform various operations such as editing, deleting, and resetting passwords.
Conclusion:
By effectively managing users and roles on the platform, you ensure that each team member has precisely the right permissions and access. This not only streamlines day-to-day operations but also enhances overall efficiency, making your platform a well-organized and controlled environment.